For the pumpkin, using your main color, cast on 9 stitches, evenly spaced over 3 needles. Place a marker at the beginning stitch of first round.
Round 1: Knit in front and back (kfb) of each stitch. 18 stitches
Round 2: *slip (sl) 1, k2; repeat from * around.
Round 3: *k1, kfb 2; repeat from * around. 30 stitches
Round 4: *sl1, k4; repeat from * around
Round 5: *k1, kfb 4; repeat from * around. 54 stitches
Round 6: *sl 1 k8; repeat from * around
Round 7: *k1(kfb k1) 4 times; repeat from * around. 78 stitches
Round 8: *s1 k12; repeat from * around
Round 9: *k1 (k2 kfb) 4 times; repeat from * around. 102 stitches
Round 10: *s1 k16; repeat from * around
Round 11: knit all stitches
Round 12: *s1 k16; repeat from * around
Round 13: *k1 k2tog k12 k2tog; repeat from * around
Round 14: *s1 k14; repeat from * around
Round 15: *k1 k2tog k10 k2tog; repeat from * around
Round 16: *s1 k12; repeat from * around
Round 17: *k1 k2tog k3 k2tog k3 k2tog; repeat from * around
Round 18: *s1 k9; repeat from * around
Round 19: *k1 k2tog k2 k2tog k1 k2tog; repeat from * around
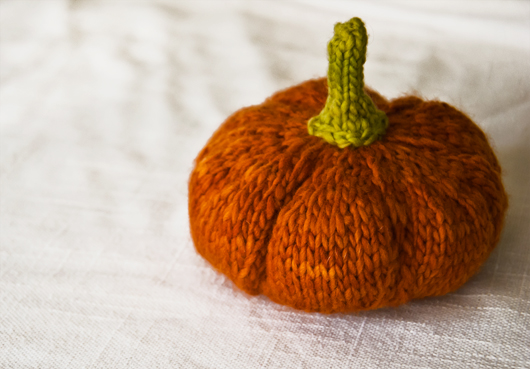
Before continuing, lightly stuff the pumpkin with stuffing of choice. I used wool roving.
Round 20: * s1 k6; repeat from * around.
Round 21: *k1 (k2tog) 3 times; repeat from * around
Round 22: *s1 k3; repeat from * around
Round 23: *k1 k2tog k2 k2tog k1; repeat from * around
Round 24: * s1 k2; repeat from * around
Round 25: *k1 k2tog; repeat from * around
Round 26: k2tog around
Cut thread (with at least a 5 inch tail) and pull through all remaining stitches. Pull up to tighten, then use a crewel needle to sew in the thread end.
Stem:
With green and smaller needles, cast on 6 stitches over 3 needles
Round 1: knit all stitches
Round 2: *kfb k1; repeat from * around
Round 3: knit all stitches
Round 4: *k1 kfb k1; repeat from * around
Round 5: knit all stitches
Round 6: knit all stitches
Round 7: bind off knitwise
Using green yarn, stitch stem to pumpkin.
*****EDIT****** Thank you to Emimintz for finding a typo! Round 13 had an 8 in front of the K1 that should have been an *. I'm going to knit through this again today to see if I can find any more mistakes:)
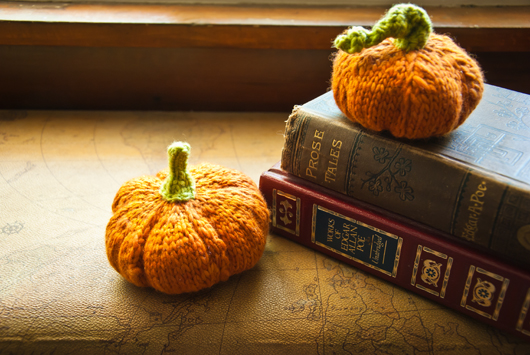
I hope you like this pumpkin pattern! Feel free to make as many as you want for yourself or to share with your friends. Now I know I'm preaching to the choir here, but please do not make these and sell them on Etsy.
Coming soon! A spider web crochet pattern! OOooooo! Spooky!
So cute for fall! I keep seeing these great pumpkin ideas around blogland... And I know they'd be missiles here :)
ReplyDeleteAnd here I was going to begin mass producing them tonight for sale on Etsy tomorrow.......
ReplyDeleteDrat.
The little pumpkins are just so darn cute, but all I know how to do is knit back and forth......
Maybe I should learn more, huh???
in line 13 is it supposed to have an 8 in front of it? Or just k1 k2tog...
ReplyDelete@emimintz, thank you for catching that! The 8 should have been *. I've changed it in the pattern.
ReplyDeleteLove this pattern! I've done a few already for myself and family that requested them once they saw mine. Just wondering what pattern you used to make the curvy pupmkin stem, I'd like to try that one next.
ReplyDeleteThanks for sharing!
@shanna, I'm so happy you are enjoying the pattern! I have already sold that pumpkin, so can't say for sure how I did that stem! I do know that I crocheted it, starting with a loop and just decreasing as I went along. When I got down to one stitch, I made a chain and did increases in the chain to make it twist. After cutting the thread, I ran it down the middle to scrunch the stem up. I hope this makes some sense! lol!
ReplyDeleteSono bellissime! Paola
ReplyDeleteGrazie Paola!
ReplyDeleteSo cute! i love it, thanks for sharing.
ReplyDeleteI just found these via craftgawker and am in love with them! I love all things autumnal and have made some little felted pumpkins, but I really can't wait to try these. Thank you so much!
ReplyDeleteSo lovely pumpkin, see it for the first time. haha, amazing knitting and crocheting.
ReplyDeletewhy I just can pin it on my pinboard????
ReplyDeleteCould anyone kindly tell me the reasons???
I don't know why that is, Nana. I have that same problem. My fiber skills are much better than my computer skills I'm afraid:)
ReplyDeleteThese are the sweetest pumpkins. I don't knit (I'm a crocheter) but really need to learn so I can do patterns like this.
ReplyDeleteThank you so much for the pattern! I just made my first pumpkin yesterday, and am already working on a second. These are going to make great 'thinking of you' gifts for friends!
ReplyDelete@Esther, I'm so happy you are enjoying the pattern! Do you have links with pictures to share?
ReplyDeletePlease put stitch count on each row that has a change.
ReplyDelete