The first one is a great way to use re-purpose last year's holiday cards. It's good for the environment, and pretty kid friendly!
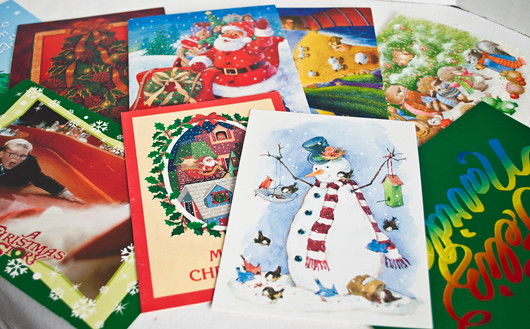
Gather up your cards.
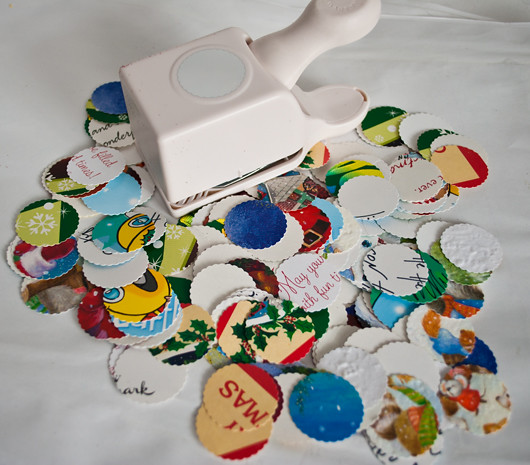
Punch circles out of them. I used Martha Stewart's 1 inch scallop punch.
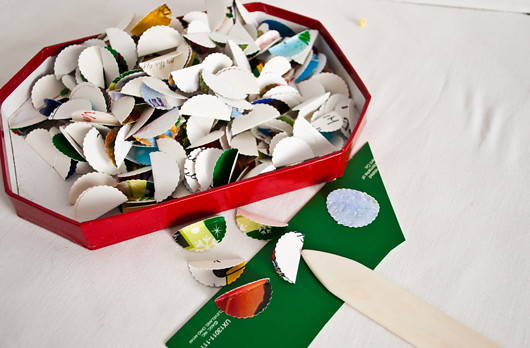
Next, fold them all in half, with right sides facing. A bone folder helps here to flatten the fold, but is not necessary; you could also use the end of a spoon, or just not bother with that part. If your arthritis is hurting (!) then hope that your friends sent cheap cards printed on thin paper. But I suppose if you have little children in the house, you don't have arthritis yet, do you? The Universe is kind, just one pain at a time;)
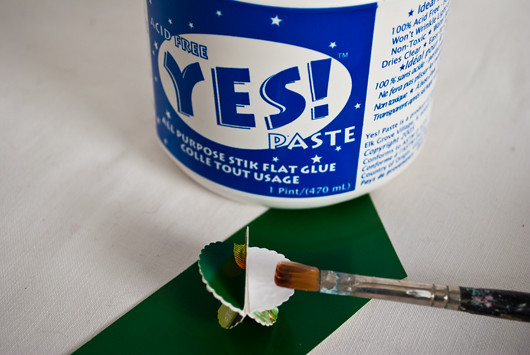
Next, glue the backs of the circles together. As you can see, I used YES! paste. For kids, or those like myself that can't stand to get their fingers dirty, a glue stick would be wonderful. Yeah, that's right! I'm an artist that doesn't like dirty hands. We've discussed this before; that's why I like to crochet;)
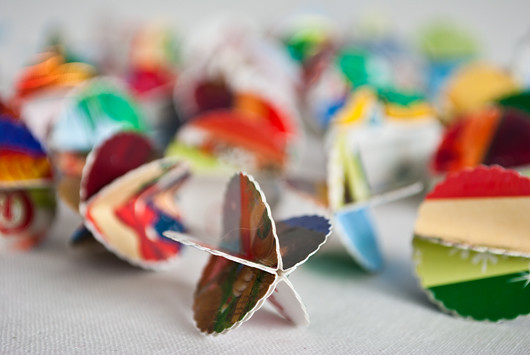
I decided five was a good number of circles to glue together, but you could use six or seven or what ever you want really. Now let these dry awhile.
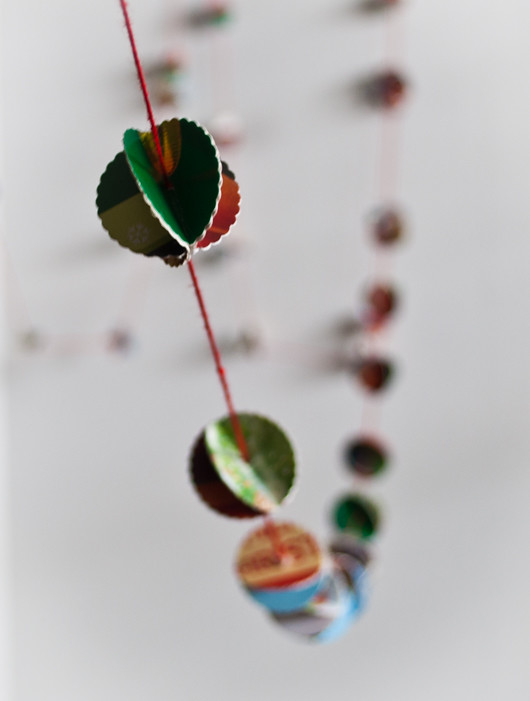
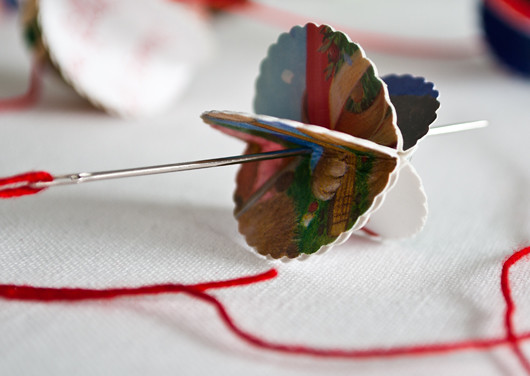
Next use a large needle and thread the globes onto string; I used crochet thread. The glue gets a little tough in the middle. I actually ended up bending this needle, so then I went and got a huge honking needle and it didn't bend. It helps to tie a knot in the thread after each globe. Space them as you desire.
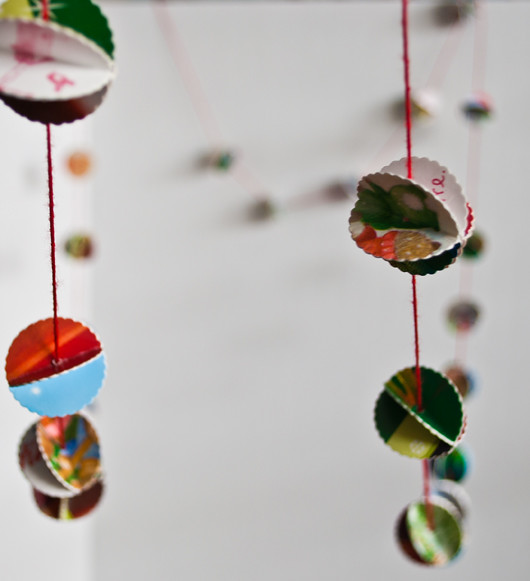
And ta-da!! Now go hang them up someplace pretty.
And have a super lovely weekend!
*** This tutorial is featured on AllFreeHolidayCrafts.com
Ooh, pretty!!
ReplyDeletehmmmm......
ReplyDeleteMaybe I will have to go out and get myself one of those punches....
And some Yes! glue.....
And then hope someone sends me some cards...........
or buy a box of dollar tree cards!
Deleteor buy a box of dollar tree cards!
DeleteI love this! wonderful idea thanks for sharing I need a punch like that, and a strong needle... Hope you are having a lovely weekend I am off to check out your other posts I have been awol xox
ReplyDeleteI love it, I have piles of recycled cards ready to be used.
ReplyDeletemy monday morning errand list just expanded to include "paper punch like bobbi's".
ReplyDeleteyour comment about kids and arthritis cracked me up.
thanks for sharing this cool holiday craft.
CUTE! I am going to attempt holiday garland this year too! But mine are just flat, not 3D like yours. What a lovely idea of a hole punch vs. old school cut out a bazillions circles! My thumbs may appreciate such a device if I do this again!
ReplyDeleteWhat a fun project! If only they sold Martha Stewart scallop punches in Germany...
ReplyDeleteDaygd* girlfriend,
ReplyDeleteI do like the re-purpose concept. I re-purposed my word verification (that thing they make you do before your post is accepted) into a greeting for ya! And wouldn't mind re-purposing my life...okay, okay, have you had enuf of my silliness. :P
I love what you did with yur ol' holiday cards...truly. Inspired. And I popped ahead to see your cute-as-could-be cardinals...I love birds, dontcha?! Yes.
Anyway, anyway, just came by to say hello to one of my favorite blog pals.
Just me,
Jan
I am loving this garland! I had a plan to make felt garland this year. Didn't happen! Glad I found this one! I added it to my link love post today.
ReplyDeleteI'm a bit slow and only found your post now - but I'll be doing this for xmas 2011. Thanks for a great tutorial!
ReplyDeleteWhat a great idea, I think I will use holiday photo cards.
ReplyDeleteI will also make tree ornaments with my girls using your technique. Thank you and Merry Christmas